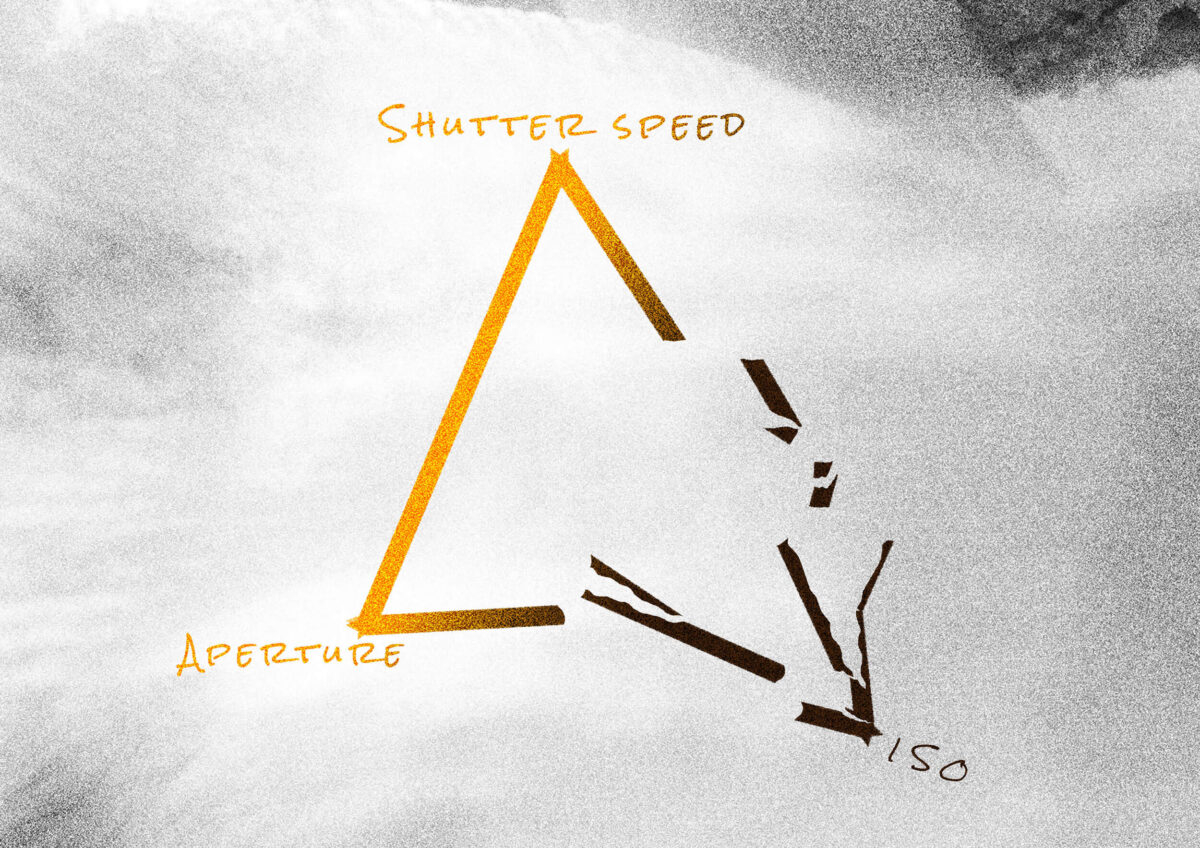
Many times I have seen this trick like the exposure triangle. I think this is a good solution but people who offer solely this for learning photography are wrong. Read this post till the end to find out why it’s better to switch ISO to auto mode when you’re starting out and why the exposure triangle is not necessarily useful.
What is the exposure triangle?
It’s a schematic depiction of the 3 main things that affect the picture’s lightness: shutter speed, aperture and ISO.
- Shutter speed is the time at which the light gets captured by the sensor
- Aperture is how much light goes through the lens (per second)
- ISO determines the sensitivity of the sensor to the light
People teaching photography often use the exposure triangle to describe what you can do to adjust these 3 valuables to get the right amount of light. So when using this scheme you need to constantly remember all 3 of the settings to expose your shot correctly.
Exposure is basically how much light has been captured in a shot. To measure it you need to multiply the size of the aperture by the time the shutter was open(shutter speed).
Why you don’t need the exposure triangle if you want to learn photography?
As you can see I have mentioned ISO but I didn’t tell anything else about it yet. Because it’s not as important, the most important is understanding that photography is about light and if you want to become an artist-photographer someday, your primary tool will be light and the ways to affect it. Your camera doesn’t capture a house or a landscape, it captures the light reflected from it. It’s up to you to define how much light and in which way you want to capture it. You need to remember this and understand how all of this works. What you don’t need for sure is memorising some complicated schemes.
ISO in film photography
Of course, shutter speed, aperture and ISO are affecting the same thing – exposure. But if you shoot on film then your ISO is fixed on the whole film roll. So on a film camera, you set a fixed ISO and then adjust all of your frames with shutter speed and aperture only.
Auto ISO
So you can skip this step of learning all 3 variables because it’s not something that will make your photos beautiful. I also know photographers who even after 7 years of practising photography are using auto ISO.
To help you understand why you can set ISO to auto mode and forget about it for a while I will answer 4 questions.
What ISO changes?
The ability of the sensor to capture more light in a shorter amount of time. The higher ISO the more noisy a photo will be.
Why higher ISO is needed?
Sure if with higher light sensitivity the quality worsens, you would try to keep it at a minimum. But sometimes you really need to set it higher, because with low ISO (~50-200) you can’t shoot moving objects when it’s dark, they will get blurred.
Do you need the highest image quality?
No! (Unless you shoot for some business where they want it only without noise and in high quality. But it’s very easy to do and you will get some guidelines.) I know if you have just started out, you need to learn how to get high-quality shots. But after doing photography for 9 years I have learned that what’s on the picture is far more important than the quality. So if you need to raise ISO but lose quality – do it!
How important is it to know the settings?
It’s relatively important because without it you can only take pictures in auto mode. But knowing and understanding compositional rules you can take some good shots even in auto mode. Knowing the exposure triangle and not understanding exposure itself, you won’t make anything better than your camera in auto mode. But for sure you will spend a lot of time adjusting the settings yourself.
Just knowing the exposure triangle is not photography yet
Learning how to use shutter speed and aperture might seem to be important but this is the tip of the iceberg. This will help you to less rely on the camera auto mode and take pictures yourself. But if you don’t know how to take good photos it won’t make you create better photographs.
If you’re at the stage of learning the exposure triangle you might think that photography is about taking stunning pictures like the one below.
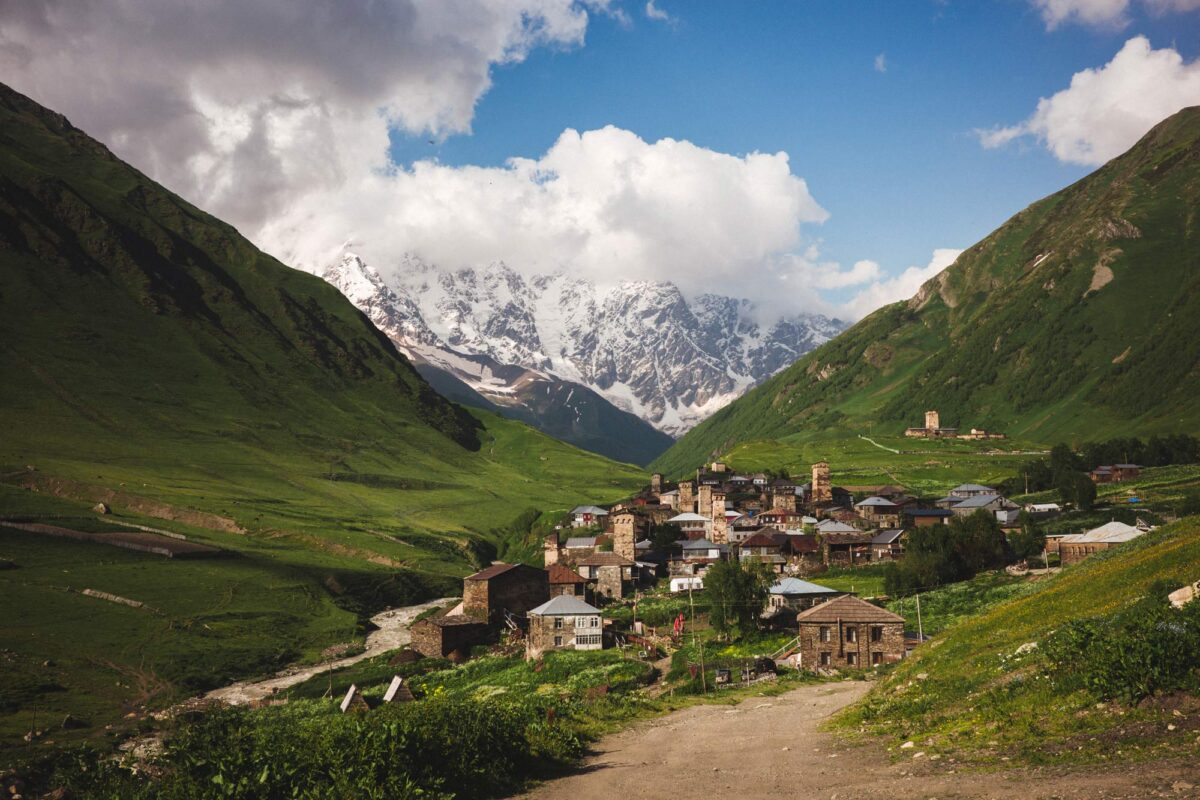
But this picture is actually very simple! This is rather being a person with a camera than a photographer. To make a picture like this you mainly need to learn how to use a camera. And if you search: “Ushguli, Georgia” you will find many pictures like that. Maybe in most of the shots, the colours will be dull and unedited (because not all the people know how to edit the pictures) and the angle will be a bit different, but it’s not a big deal to take a shot like that.
What is the best way to learn without wasting your time on the exposure triangle?
I would offer you to put your ISO to auto mode because a higher ISO will make the picture only a little bit noisier. But sometimes photographers even deliberately add noise to the pictures so the loss of quality is not such a big problem. On many cameras, you can put the highest auto ISO so the camera won’t set a higher value than that. If you use a cropped sensor camera I would suggest not going over ISO 2500 and on the full frame over 4000. Setting ISO to auto will help you not focus on the variable that will only slightly change the quality but it will help you to focus on more important things.
There are actually two ways to make the learning process even better and I would offer you both of them:
- AV
- TV
Av mode
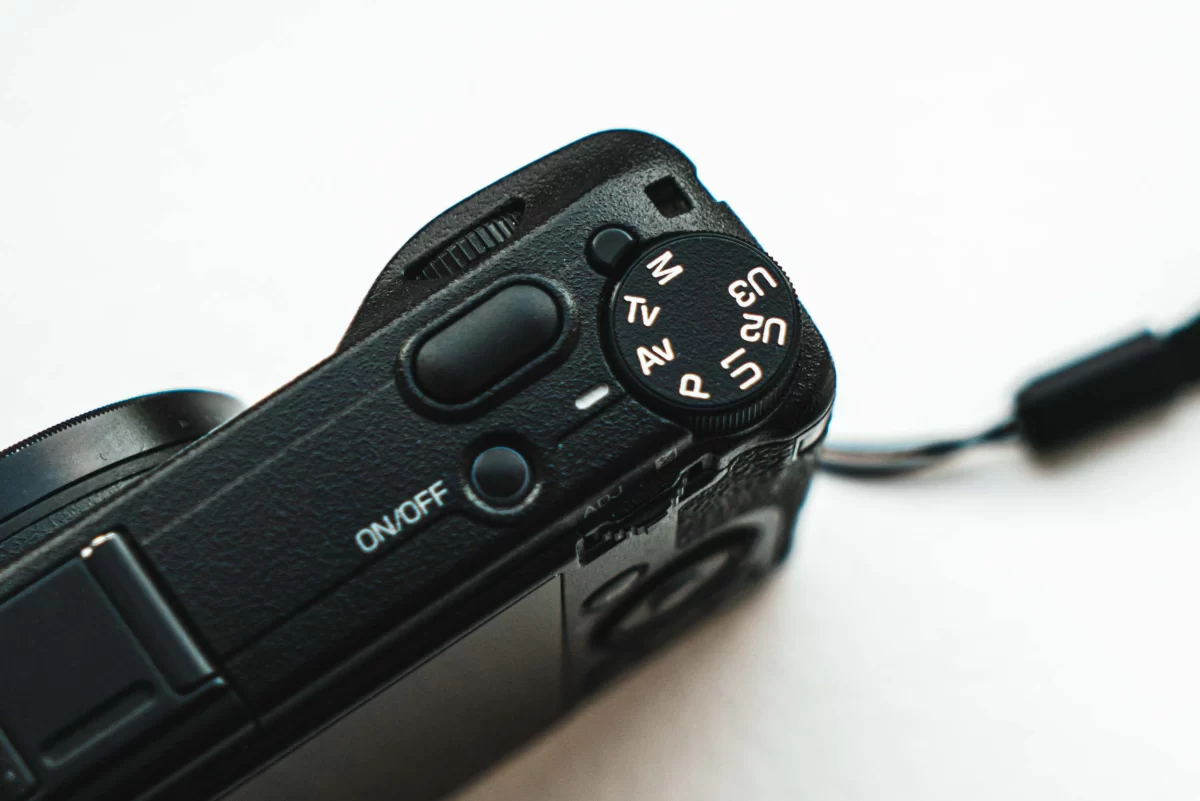
Av mode is a half automatic mode of your camera that I use 90% of the time for the last couple of years. It allows you to set the desired aperture and the shutter speed changes automatically for every shot. That way you can experiment with the aperture. See how it blurs the background when it’s wide open and how everything is sharp when the aperture is closed. To be honest I started to learn from manual mode and only in a few years I realised how much time I waste adjusting every setting for every frame and how many frames I lose because of that. So lately I control shutter speed only partially, how exactly I will describe below.
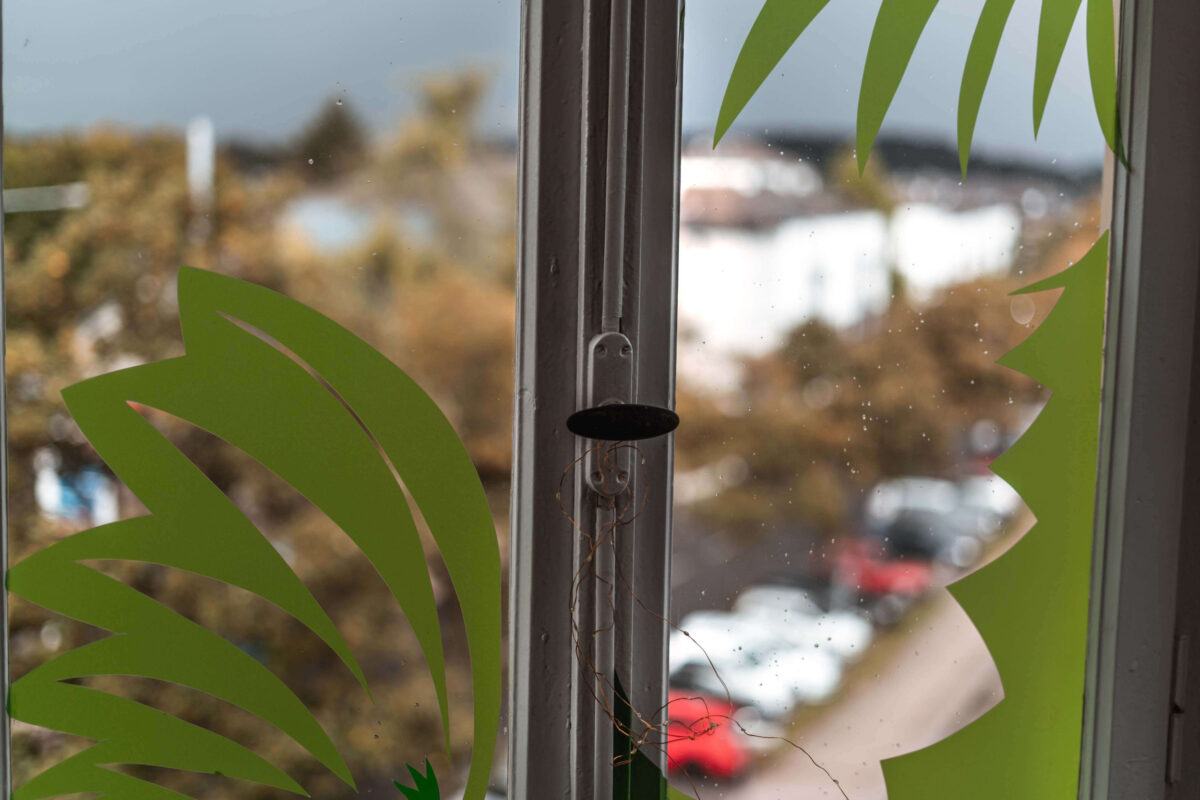
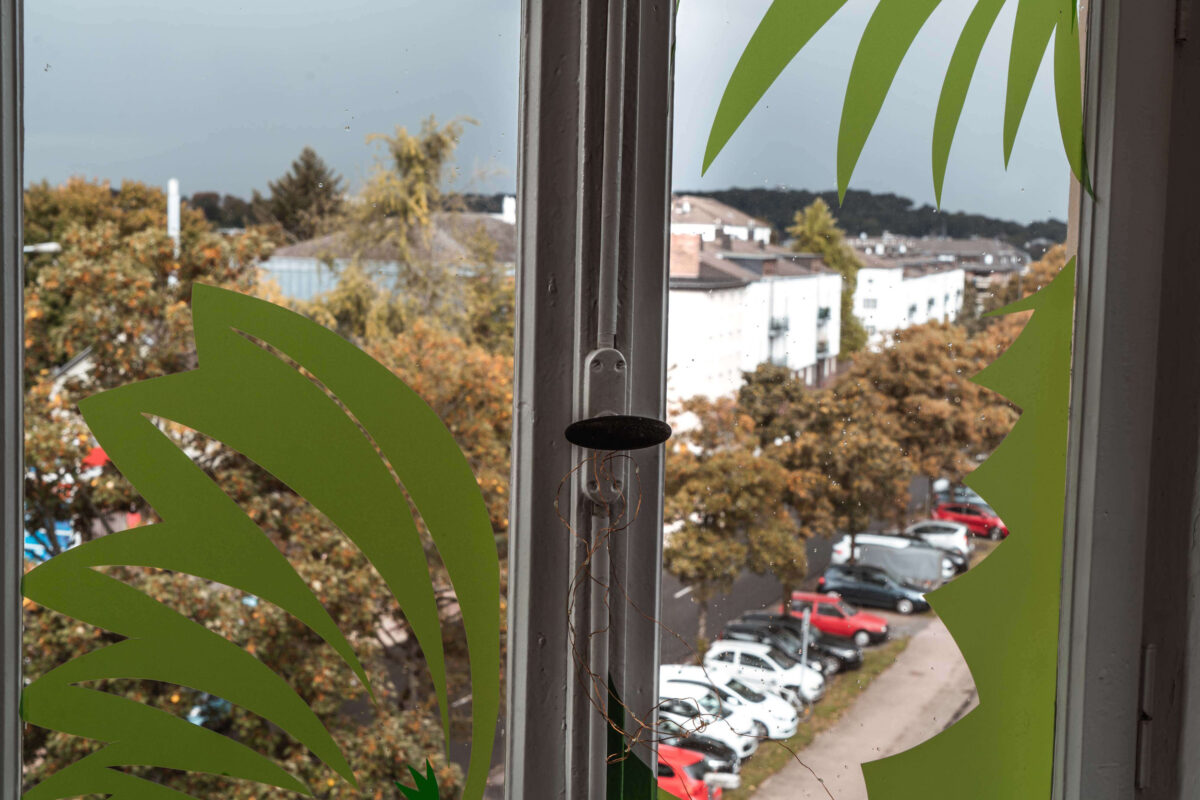
I don’t want to overwhelm you with all the information so for now try to remember only one thing: with Av mode you can adjust only the aperture and not the shutter speed.
Tv mode
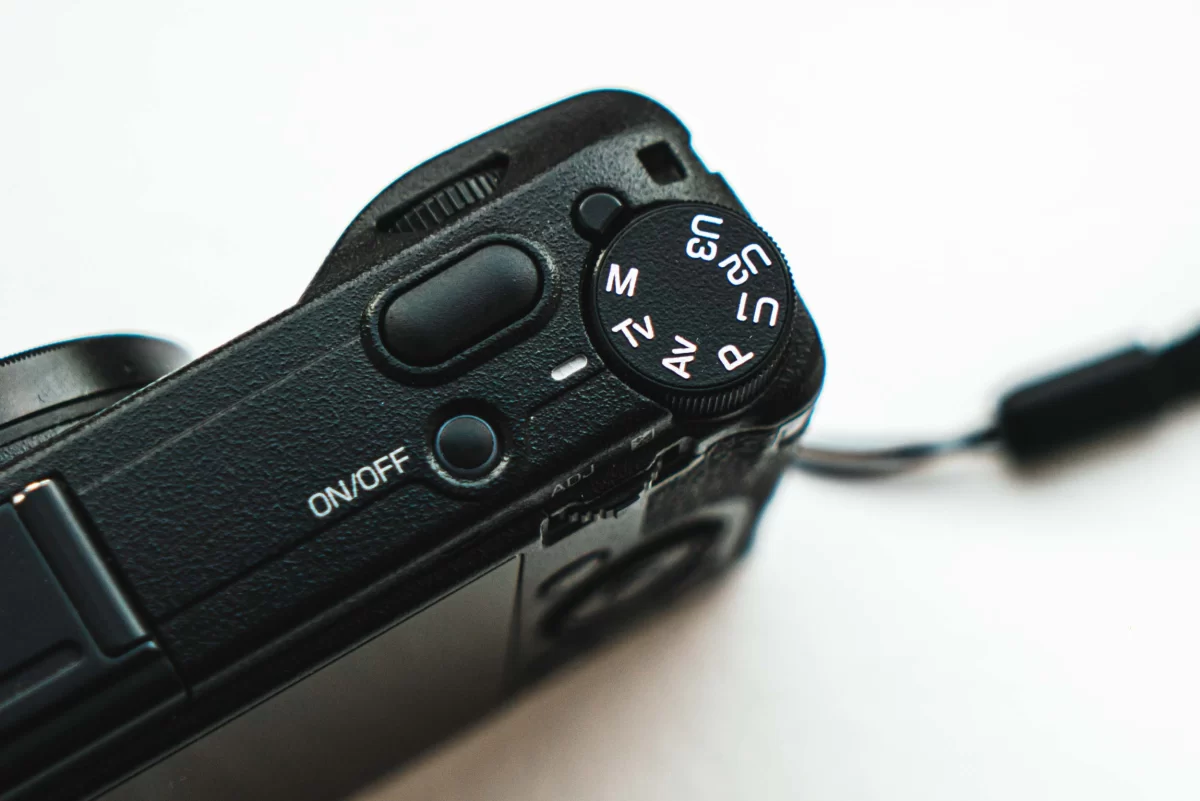
Tv mode is the mode where you adjust the shutter speed and keep the aperture in auto mode. It’s a great way for you to see what shutter speed does. For example, if you shoot on a shutter speed slower than 1/60th of a second, you can blur some moving objects (if you move your camera at that moment you will blur the entire picture). Slower than 1/60 is 1/40 of a second, 1/4 of a second, 1 second and longer, you can take a single photograph for minutes, hours and even longer if needed(but it’s almost never needed). Again, shutter speed is how long your camera allows the light to fall on the sensor.
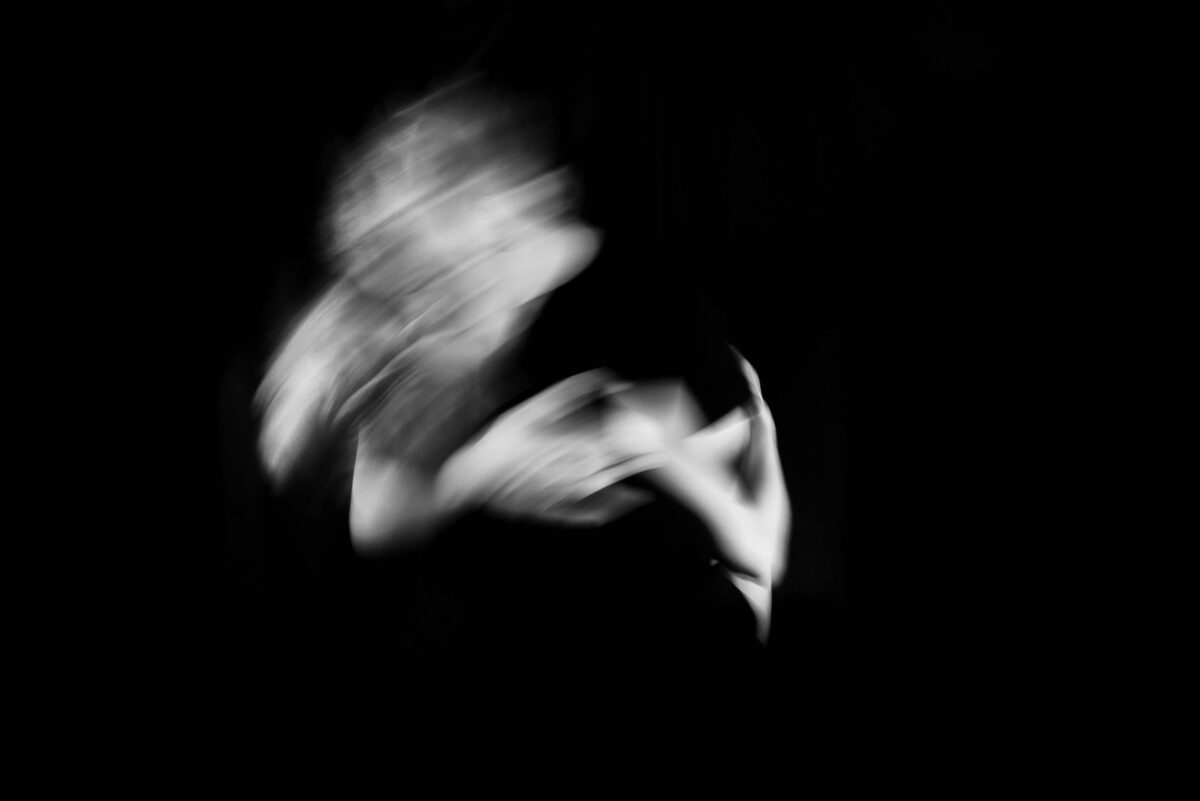
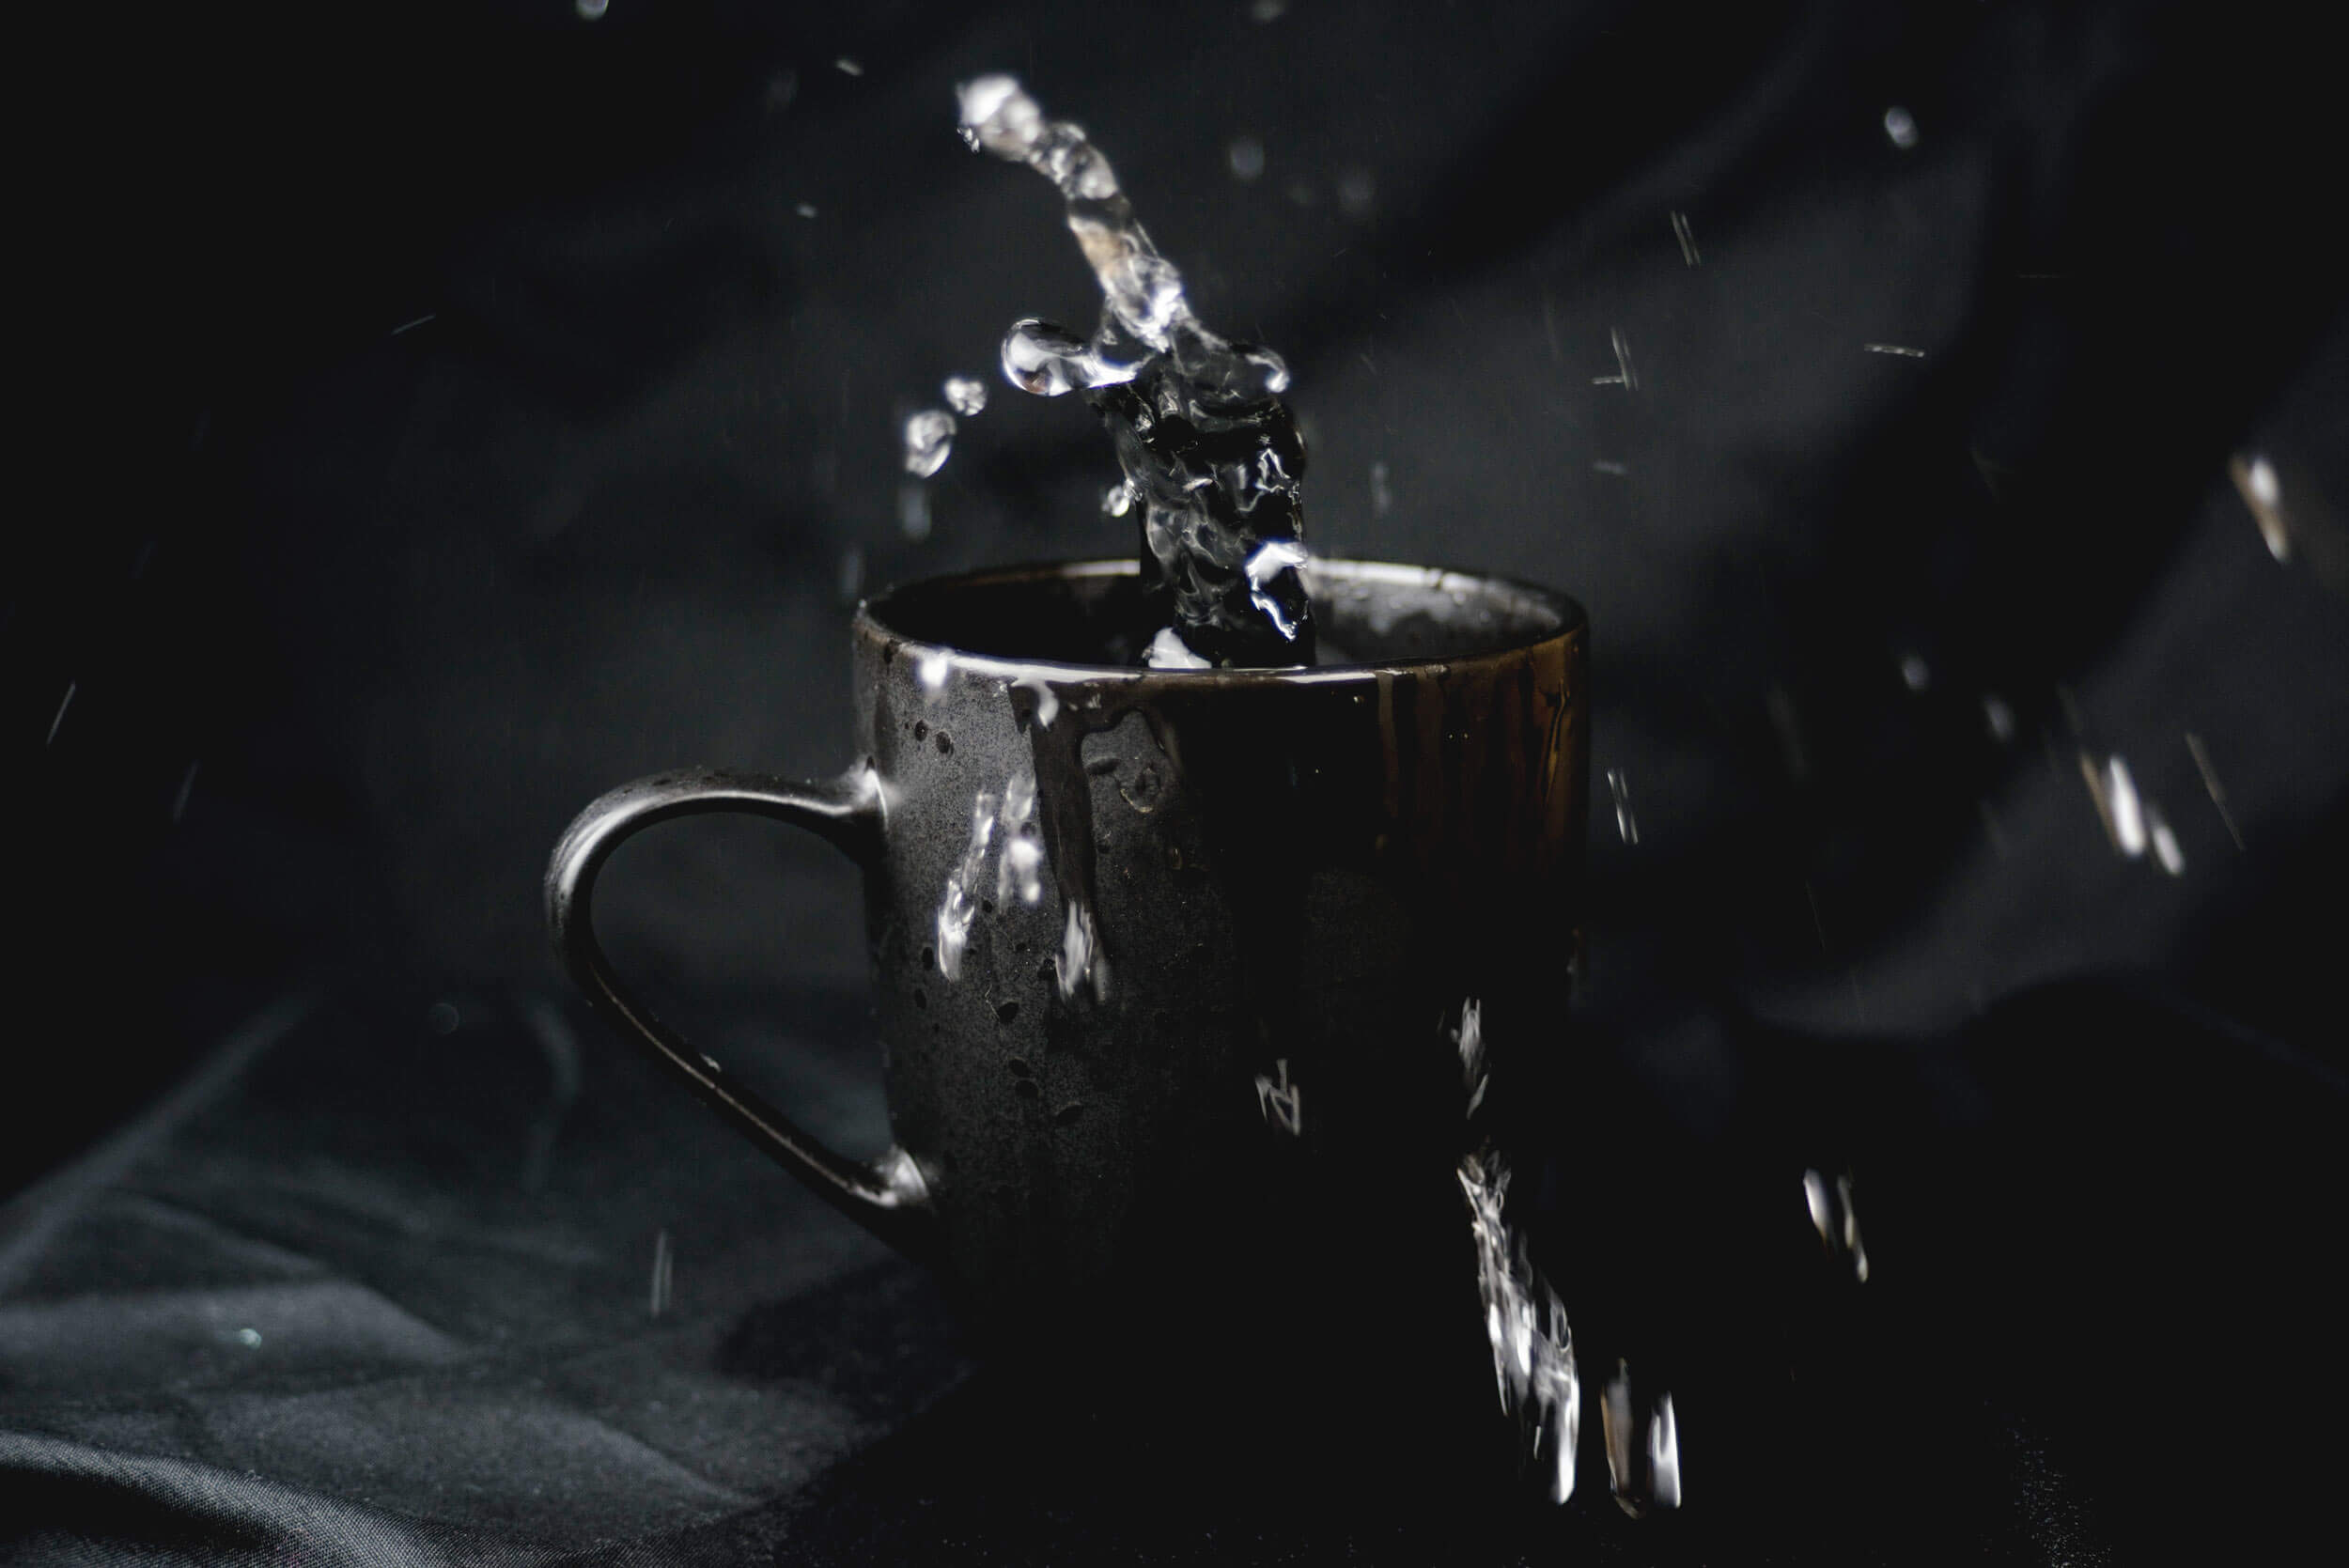
How to expose the shots as you want using one of these modes.
Instead of learning the exposure triangle, you can use exposure compensation.

Exposure is measured by exposure stops, you can see them on the light meter: -3, -2, -1, 0, +1, +2, +3. If you set the exposure compensation to 0, the camera will try to capture the scene averagely bright to capture the most details. But in many cases, you will want to set it a little bit darker (-0.7 – -1). Especially in the evening, your camera will try to capture all of the details in the darkness. At night I mostly set exposure compensation to -2. and limit my ISO to about 2500(on full frame). Remember that sometimes it’s too dark to take images keeping the camera in your hands. Even if you open the aperture as much as possible,
And this is it. If you are using Av mode then you allow your camera to find the average lightness and set the shutter speed automatically, then you can control it greatly through exposure compensation. You don’t need to scroll through the whole range of shutter speed every time. You don’t need to change your shutter speed from 1/500 to 1/60 when you enter a building. But if you need to make a picture brighter or darker in a certain scene, you can always spin the exposure compensation ring.
Update
Since I don’t focus on how my camera works, I have missed a feature that has been around for a long time. Although in this post I’m focusing on simplifying the shooting process I want to mention that ISO — which is originally the sensitivity of a film to the light, in digital photography the sensitivity of a sensor, is no longer as important. Most of the cameras made in ~ the last decade are ISO invariant. Since some people are reading this while not knowing anything about ISO I will say it in a simple way. On new cameras, you don’t need to change ISO(Light sensitivity) because it’s the same as brightening the picture in photo editing software. Of course, it is the case when you use semi-professional or fully professional cameras only.
What does this mean for you? That means that you have to understand exposure. Understanding exposure is yet a lot more complex than making a picture that is bright enough. Since the camera doesn’t capture the light as your eyes see, you can define how much of the light and for how long it will be captured. So exposure triangle helps to learn to change these 3 variables but if you don’t learn how to expose the shots, your work won’t be better than the auto setting in your camera.
You still need to know that, for example, shooting with a shutter speed slower than 1/60 and keeping the camera in your hands will blur your shots. And if you want to take a picture of a fast-moving object you need a shutter speed faster than about 1/200.
Some of the use of exposure compensation in low light conditions.
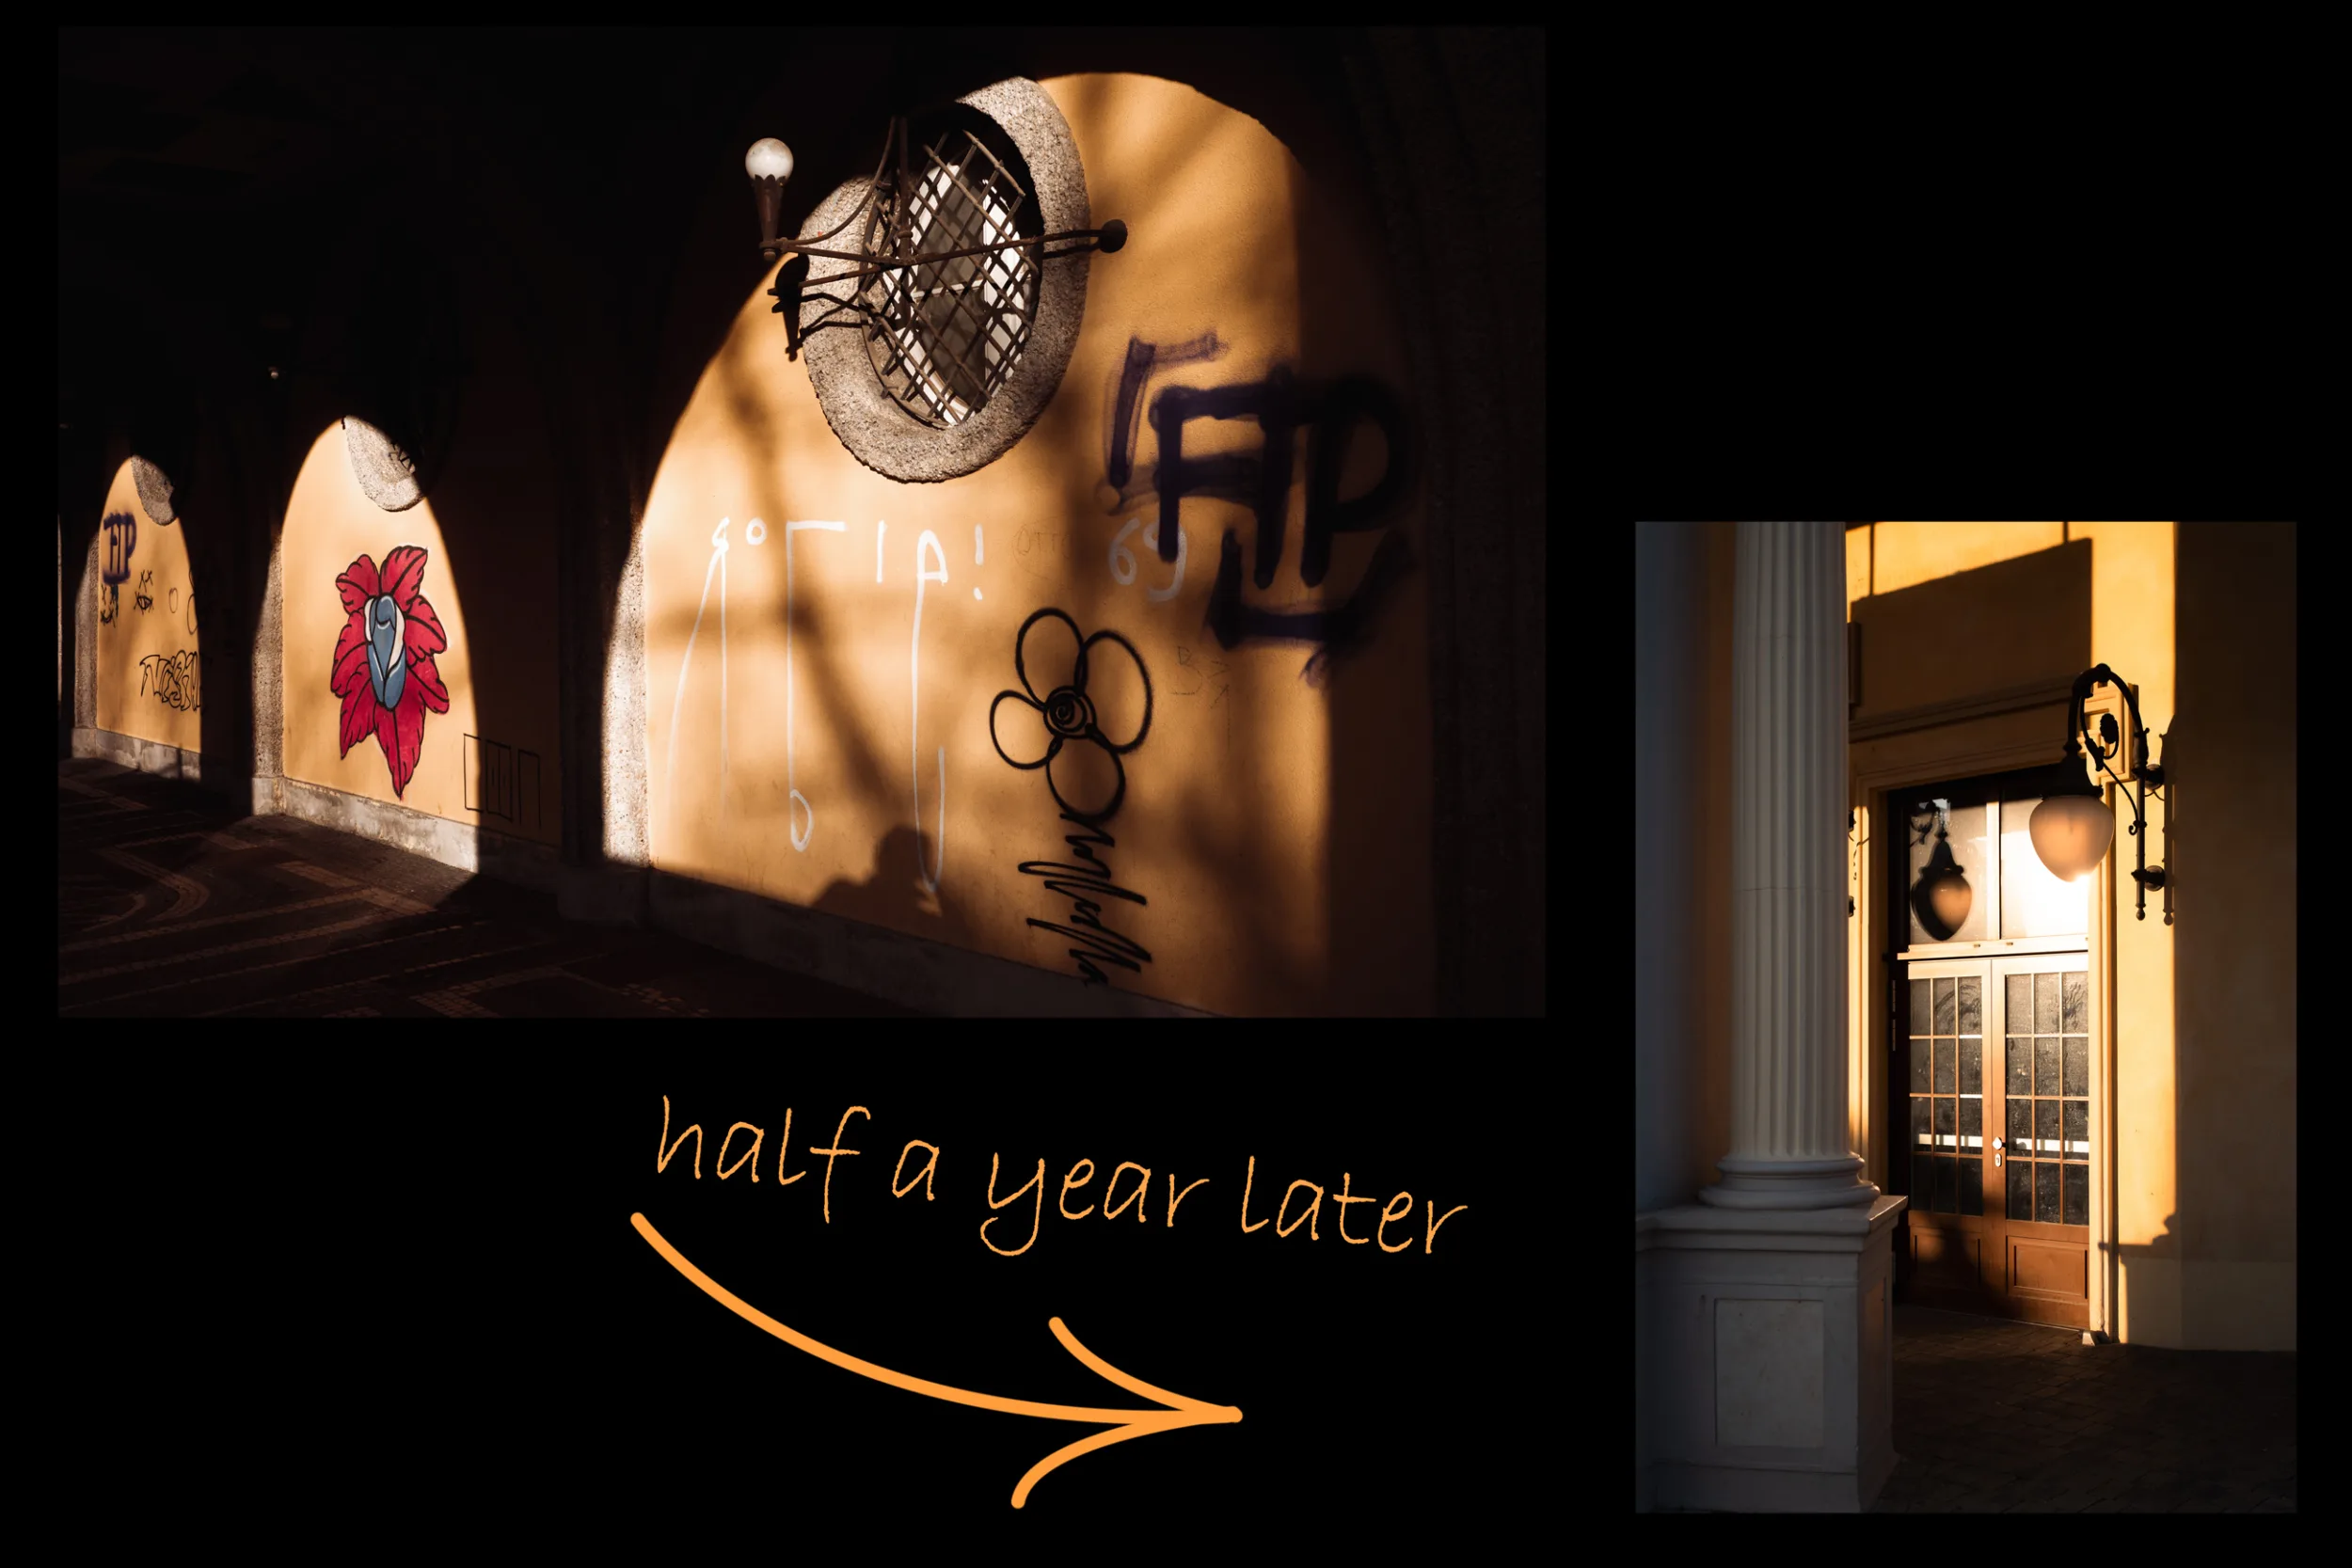
The shots below are made in semi-auto AV mode using exposure compensation.
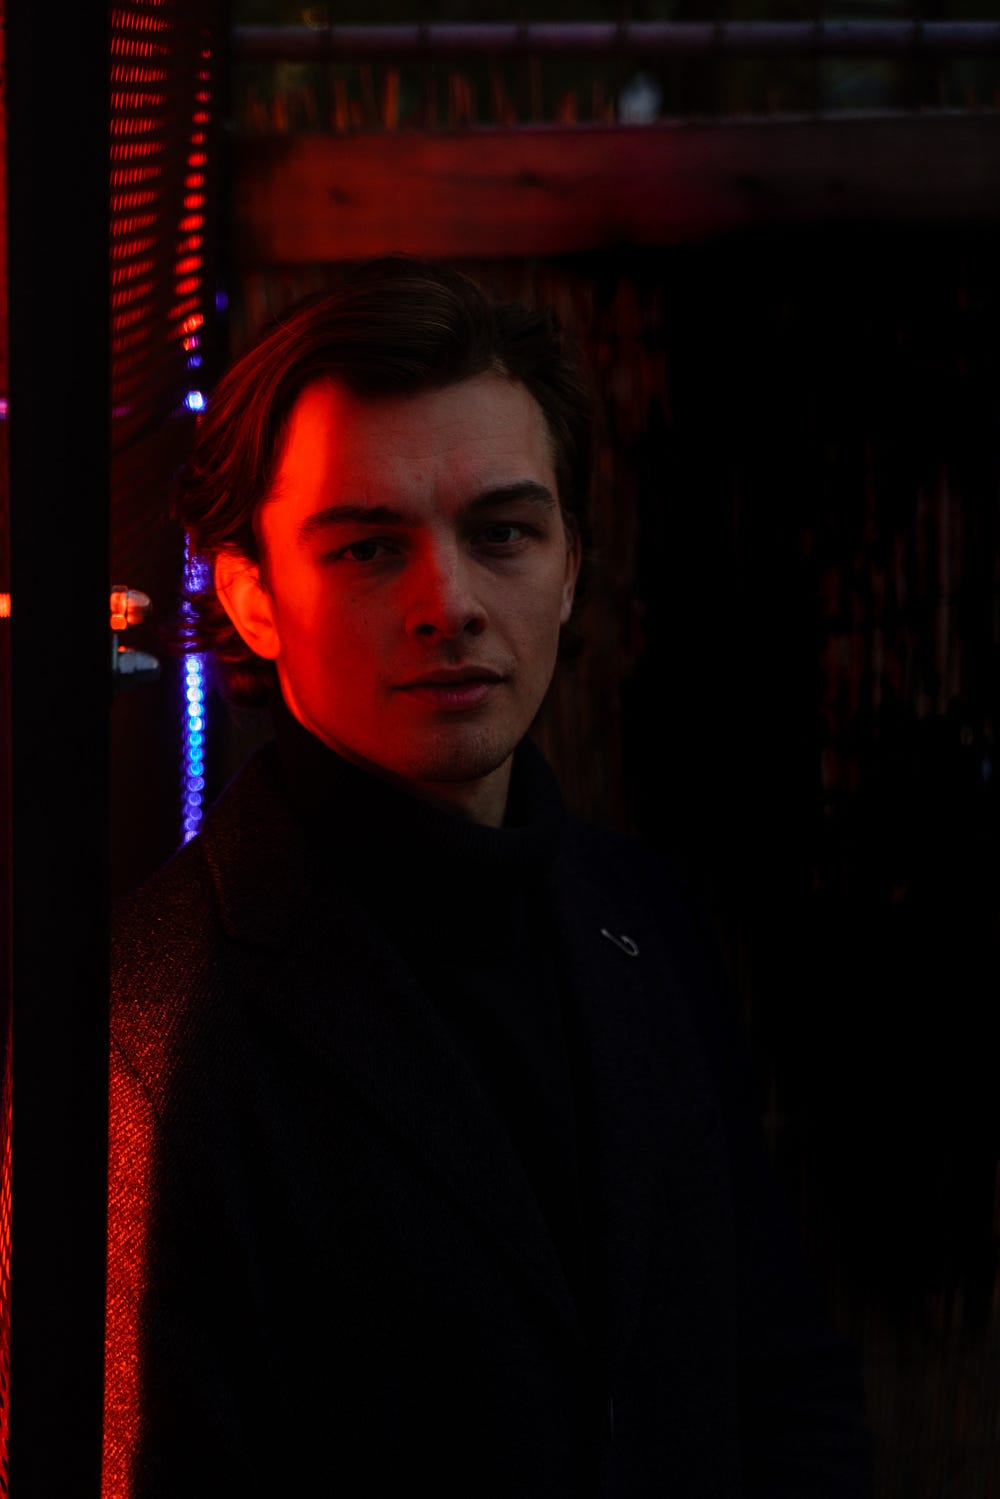
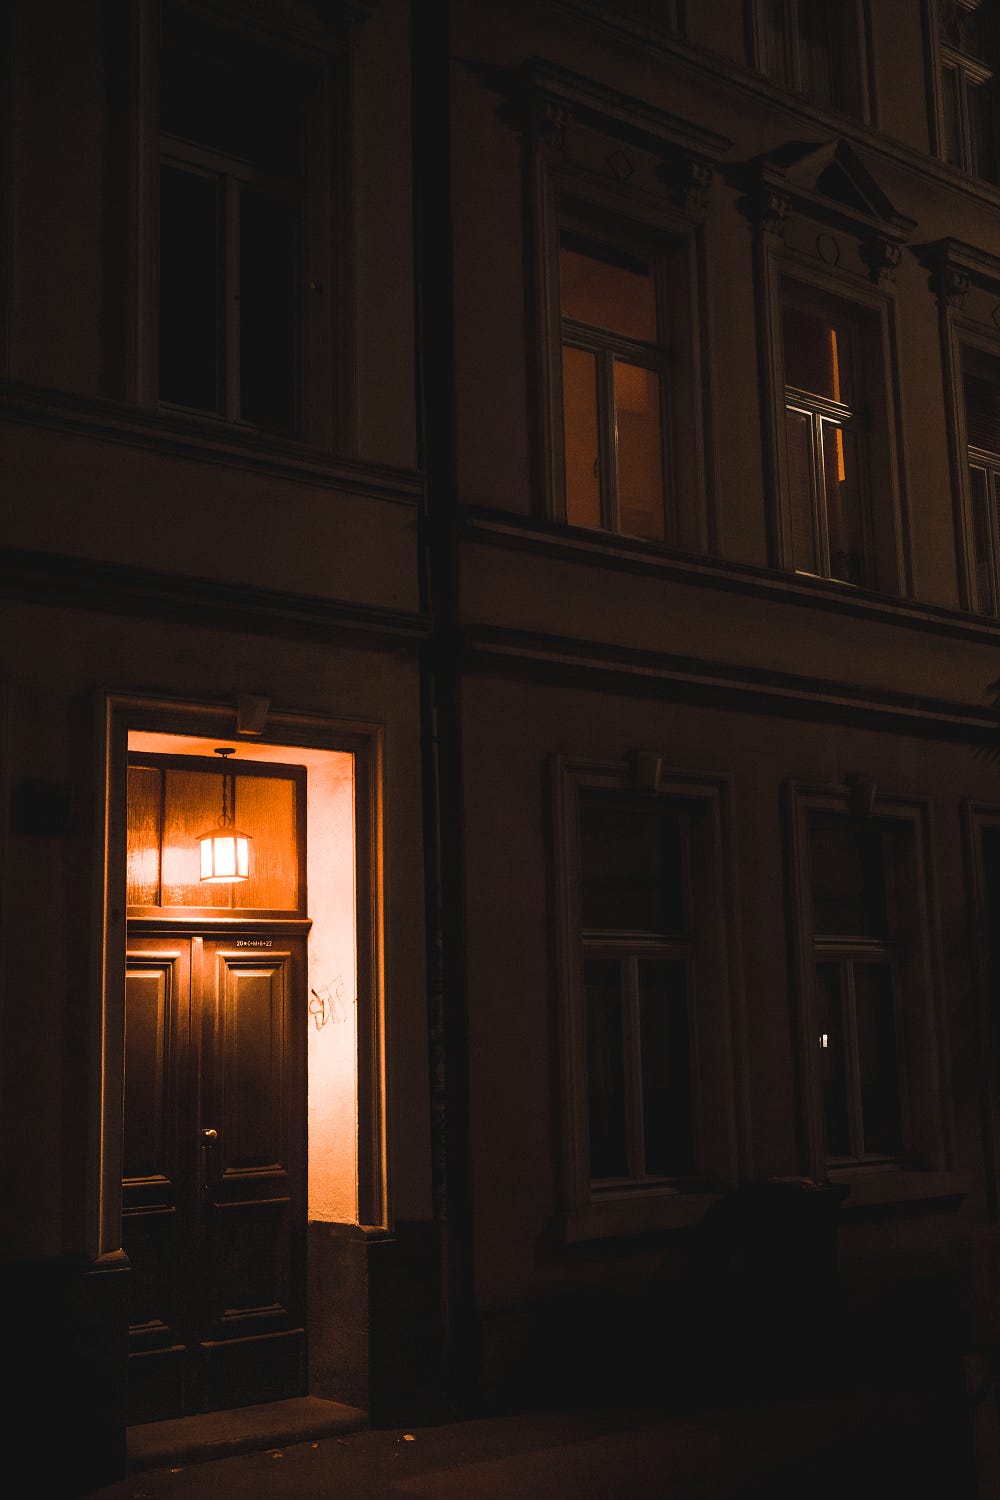
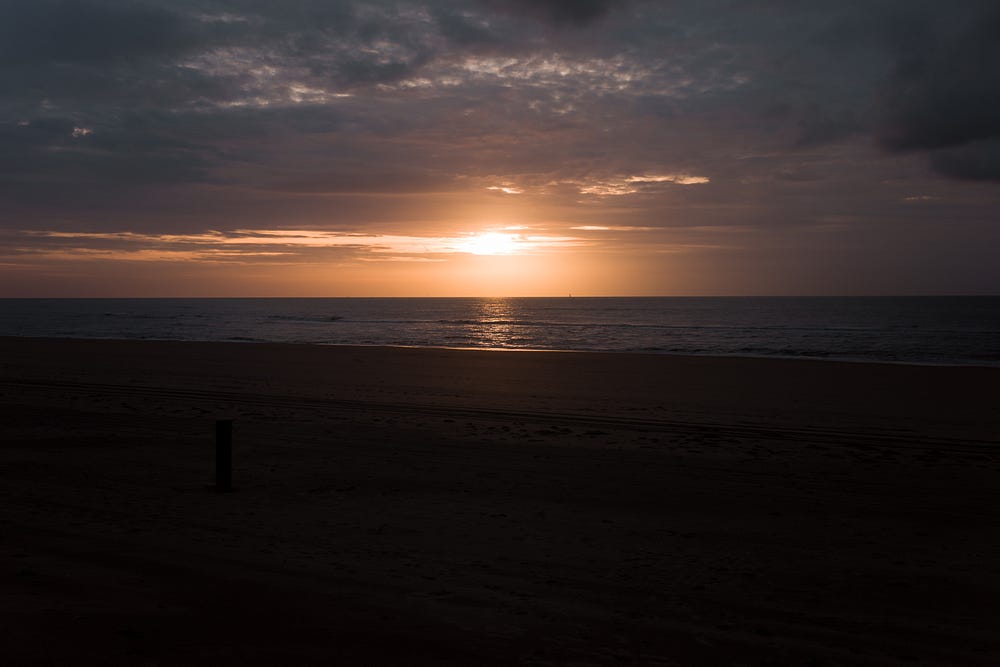
These shots are deliberately underexposed to preserve the details in highlights. I set my exposure compensation to -1 – -2 and the only thing I care about is beautifully exposing a shot. To create shots like the ones above you don’t need to learn the exposure triangle. Especially because the ISO setting doesn’t change much (still don’t set too high iso, preferably not higher than 4000, the lower the better). So I offer to care more about focusing on the lightness of a shot than on the settings and it’s all right if you start from semi-auto mode.
This tip will save you about a month or even more and will speed up your learning process
So I offer you to not learn the exposure triangle. You don’t need it as much. Learn composition, learn light theory, and improve your visual library.
Combine all approaches to improve your photography skills and you will make the same progress in one year as I did in the first 5!
If you liked this post and want to learn more from me, please consider subscribing to my newsletter. In the newsletter, I post blog updates and share my news and thoughts about photography. You can also support me by sharing these posts with anyone interested in photography
[yikes-mailchimp form=”1″]